OAK-FFC系列产品上手指南
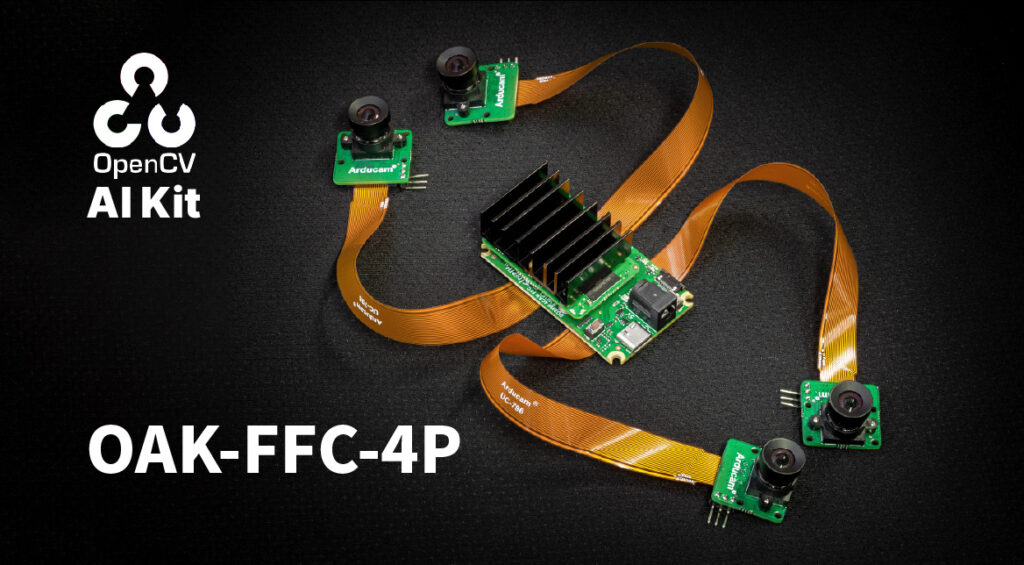
本教程将以OAK-FFC-4P为例,讲解如何从硬件到软件去使用分体式的OAK相机。如果你接了四个OV9282,可下载这个示例直接运行测试。
注意:depthai-demo默认启动cam_A相机。除了depthai-demo外,你可以尝试使用最新做的depthai-viewer。
硬件连接
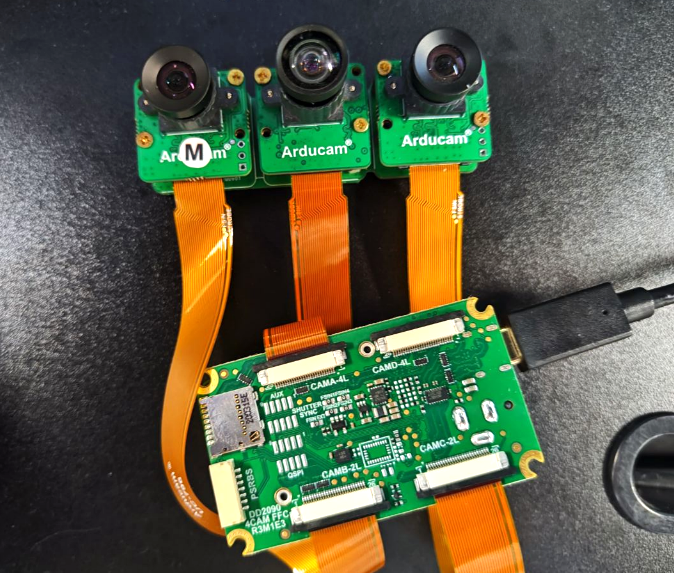
连接相机
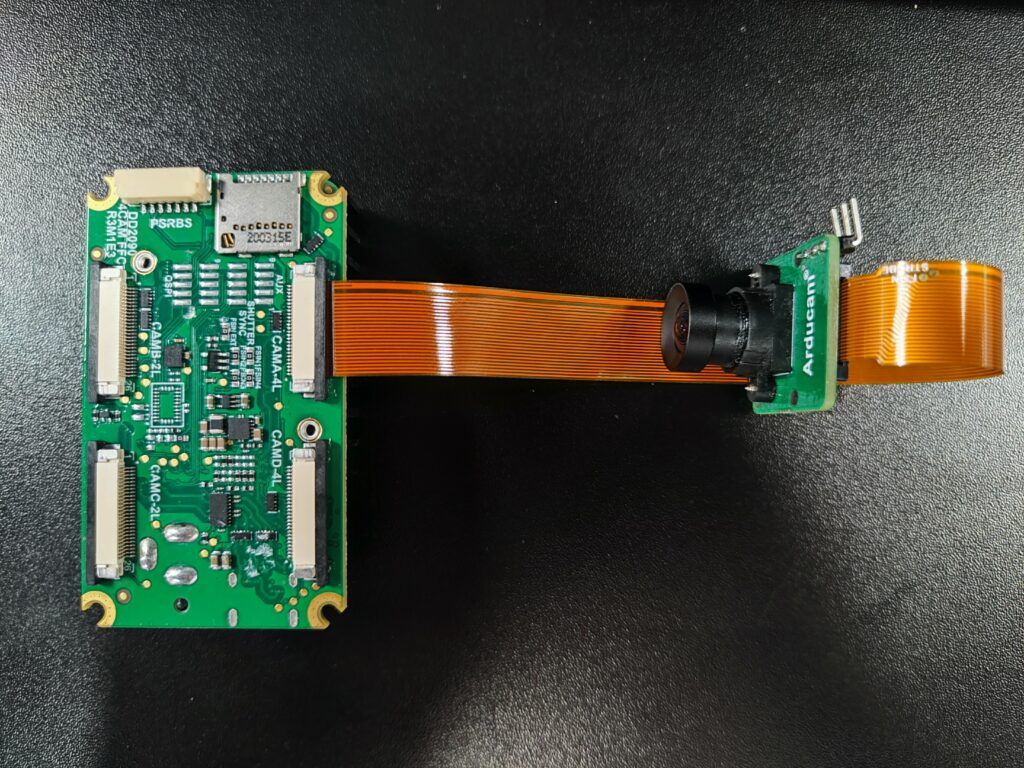
OAK-FFC-4P共有四个相机接口,不同接口对应的名称如图。
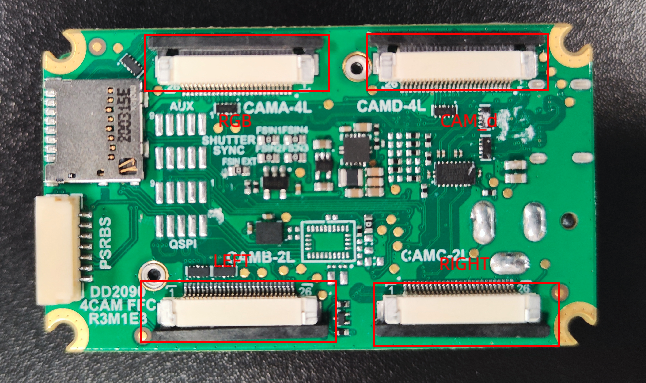
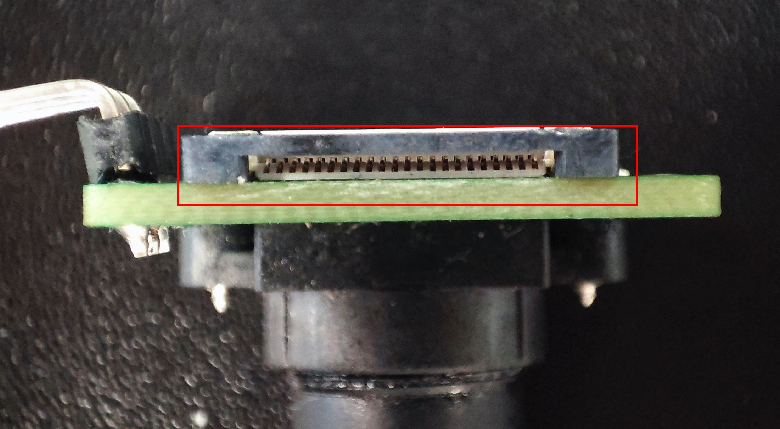
注意相机接口的触点方向,图中OV9282镜头模组接口触点在下方。
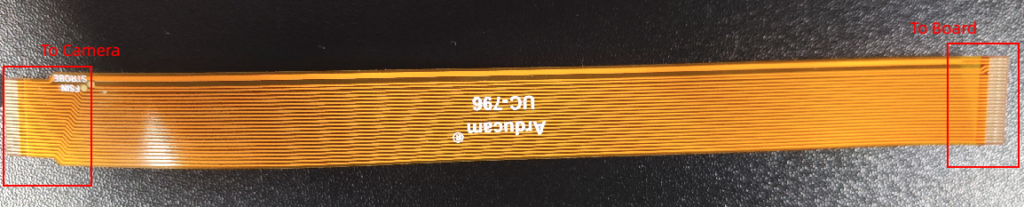
连接时注意要将黄色的软排线的触点接触连接器的触点。
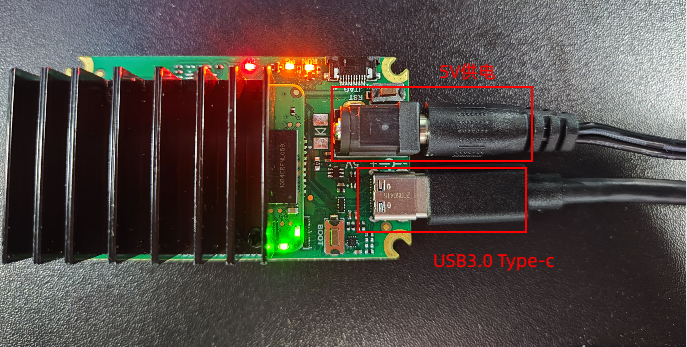
连接设备
按照下图接入5V电源线和Type C线。
运行示例
注意:你用的是其他类型的传感器,具体支持的分辨率可在这里查看。
克隆代码
git clone https://gitee.com/oakchina/depthai-python.git选择main分支
cd depthai-python下载依赖
python3 examples\install_requirements.py查看示例帮助
python3 utilities/cam_test.py -husage: cam_test.py [-h] [-cams CAMERAS [CAMERAS ...]] [-mres {480,800,400,720}] [-cres {800,5mp,12mp,48mp,4k,1080,1200,720}] [-rot [{mono,rgb,all}]] [-fps FPS] [-ds ISP_DOWNSCALE]
[-rs]
optional arguments:
-h, --help show this help message and exit
-cams CAMERAS [CAMERAS ...], --cameras CAMERAS [CAMERAS ...]
Which camera sockets to enable, and type: c[olor] / m[ono]. E.g: -cams rgb,m right,c . Default: rgb,c left,m right,m camd,c
-mres {480,800,400,720}, --mono-resolution {480,800,400,720}
Select mono camera resolution (height). Default: 800
-cres {800,5mp,12mp,48mp,4k,1080,1200,720}, --color-resolution {800,5mp,12mp,48mp,4k,1080,1200,720}
Select color camera resolution / height. Default: 1080
-rot [{mono,rgb,all}], --rotate [{mono,rgb,all}]
Which cameras to rotate 180 degrees. All if not filtered
-fps FPS, --fps FPS FPS to set for all cameras
-ds ISP_DOWNSCALE, --isp-downscale ISP_DOWNSCALE
Downscale the ISP output by this factor
-rs, --resizable-windows
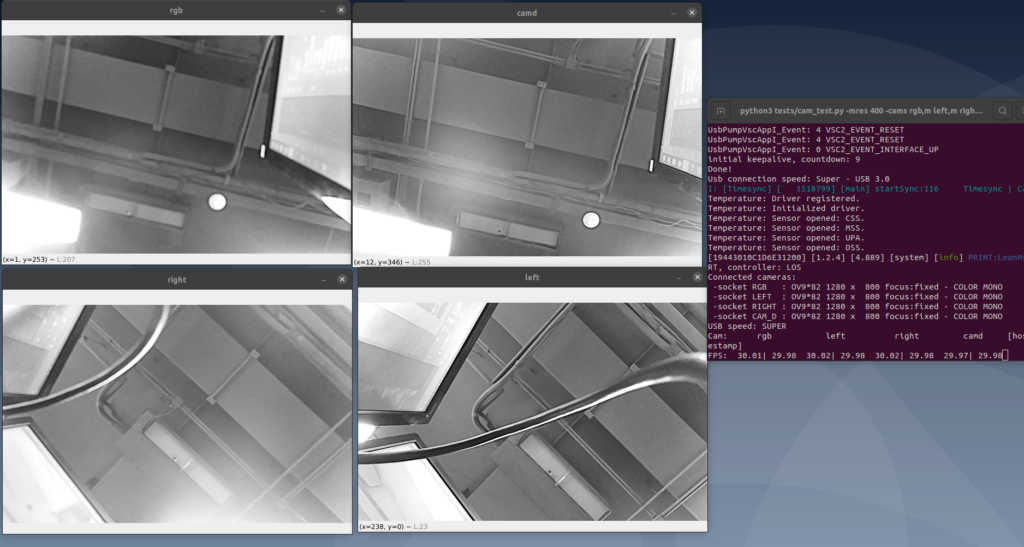
Make OpenCV windows resizable. Note: may introduce some artifacts运行代码(四目OV9282 mono)
python3 utilities/cam_test.py -mres 400 -cams rgb,m left,m right,m camd,m(注:调用OV9782也是一样的)
四目IMX477 color
python3 utilities/cam_test.py -rs -cams rgb,c left,c right,c camd,c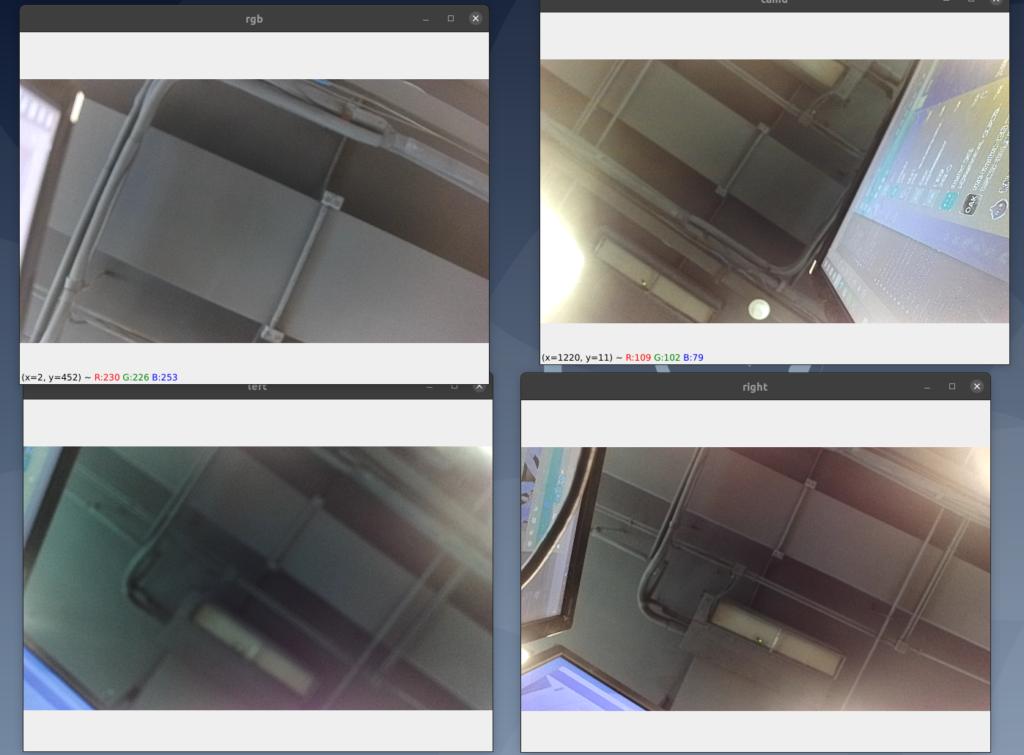
双目IMX477 color 双目OV9282 mono
python3 utilities/cam_test.py -rs -cams rgb,c left,m right,m camd,c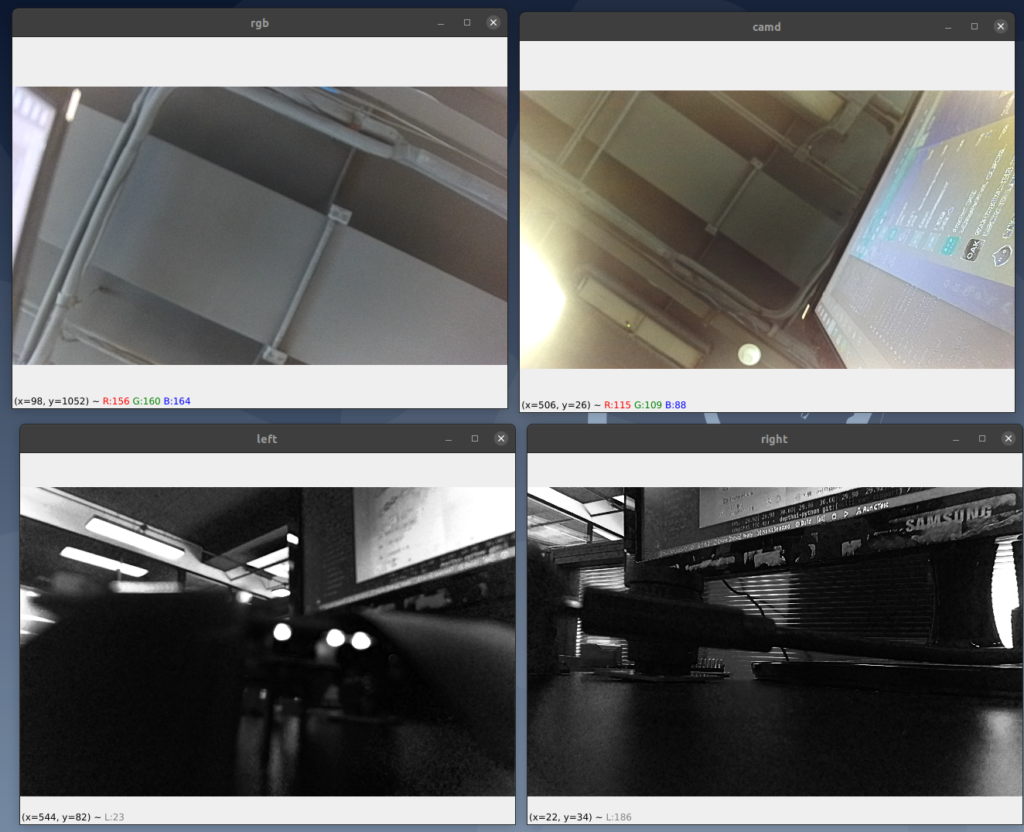
校准
使用最新的程序校准
git clone https://gitee.com/oakchina/depthai.git
python3 install_requirements.py
这里使用的相机模组是一个imx477以及两个ov9282
校准文件DD2090.json,放到depthai项目下的resources/boards目录下
{
    "board_config":
    {
        "name": "OAK-FFC-4P",
        "revision": "R3M1E3",
        "swap_left_and_right_cameras": true,
        "left_fov_deg": 80,
        "rgb_fov_deg": 75,
        "left_to_right_distance_cm": 5.4,
        "left_to_rgb_distance_cm": 2.659
    }
}
主要修改的参数是left_to_right_distance_cm和left_to_rgb_distance_cm,参考教程
棋盘格文件在depthai项目下
校准命令如下
python3 calibrate.py -s 2.5 -brd DD2090 -ih -db更多参数参考使用-h查看
python3 calibrate.py -h